DIY Xanthan Gum Gel for Hair
DIY Xanthan Gum Gel for Hair is a handy home-made recipe to have in every natural’s back pocket.
It is also the easiest Organic DIY Gel to make, as you simply need to mix two ingredients together. This makes it handier for those inconvenient life moments, like when you need to travel or are away from home for extended periods of time.
Let’s get into it!
*Pssst, try out our flagship homemade gel recipe – DIY Styling Gel for Natural Hair: Gelatin.
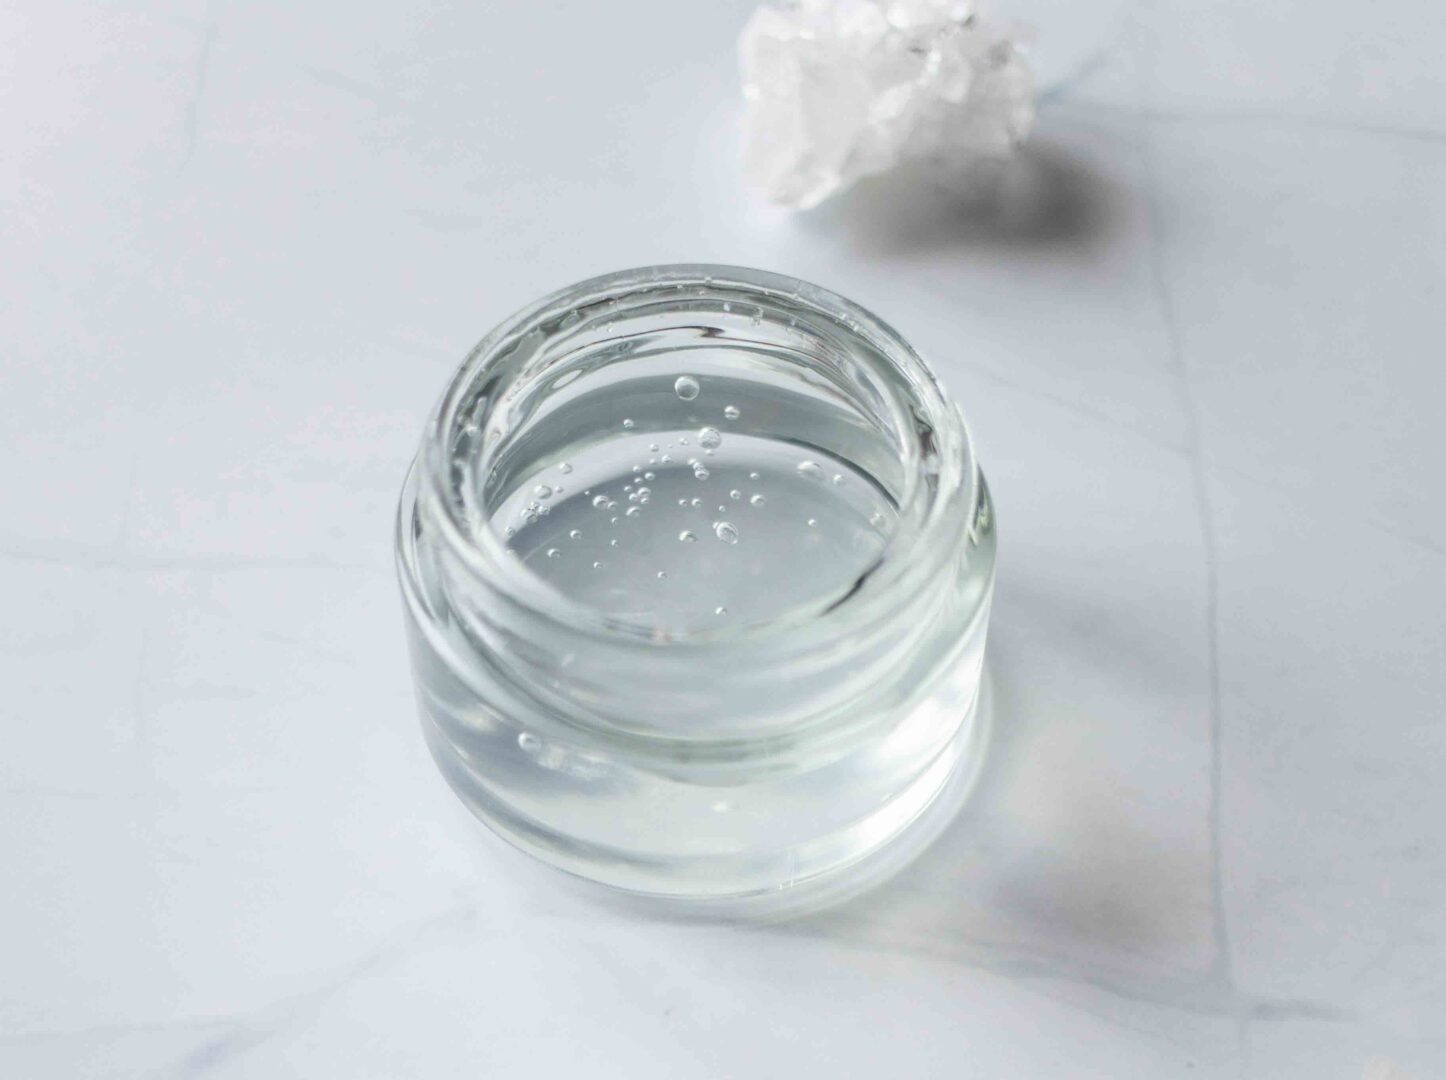
Benefits of DIY Xanthan Gum Gel
Xanthan is a natural thickening agent made from fermented sugars. When used to make a DIY hair gel, it is a great styling product, and keeps one’s desired look in place for longer.
Xanthan gum gel also defines curls, improve your hair’s appearance & shine, as well as reduce the appearance of frizzy hair.
Preparation time
15 minutes
What you need
To prepare your Xanthan gum gel at home, you will need: –
• 1/4 tsp. xanthan gum (1g)
• 1/3 cup of aloe juice / distilled water
• Optional: Rosemary / Lavendar oil or your preferred essential oil for scent.
Instructions
1. Mix the xanthan gum powder with the water / aloe juice using an immersion blender. To do this, blend the water / aloe juice, and then slowly add the powder to the whirl created by the blender to mix thoroughly.
2. Add X5 drops of Rosemary / Lavendar oil (or your preferred essential oil) and mix.
3. Pour the gel into a clean storage container.
Your gel is ready for use.
Storage
Store it in the fridge and use as required.
Use within 5 – 7 days.
Bonus NaHaZo Tip
🌺 Store the gel in silicone travel tubes, that make it easier t dispense the gel, is safe for travel as it avoids spills and leakage. It also avoids you contaminating the gel with your fingers.
🌺 If your gel has small clumps of xanthan gum, you can dissolve them using the double heating mixture.
🌺Xanthan gum does not mix easily with liquids, and so to ensure that it blends thoroughly, slowly add the powder to the liquid, while stirring constantly. If you get clumps, let the liquid rest for 2 hours and then stir again
🌺If you have extra gel, you can place these in ice trays and freeze. You can then defrost a cube as per your styling needs.
Keen to make your own DIY hair butter? Try out our DIY Coffee Hair Butter.
Preserving your Gel
Should you want to preserve your gel for longer, you can add a preservative to the mixture according to the recommended dosage.
Recommended Usage
Apply the gel to both wet or dry hair. To define your curls, apply it to cotton-tee dried hair while it is still damp, and then scrunch your hair between your fingers.
This helps to define your curls as your hair dries.
Alternatively, you can run wet hands through your hair, before working the gel throughout your hair and then scrunching it, before leaving it to dry.
*Allergens
Be on the lookout for any allergic reactions and make sure that you stop if you notice any difference.
An alternative DIY gel to try, should your experience irritation, is our DIY Flaxseed Gel for Hair Growth.
What has been your experience using xanthan gum gel? Is it one of your hair care staples? Give us a shout-out in the comments and let us know if your hair loved this gel.
And until the next time, gorgeous naturals, happy naturaling!